Mavic 4 Pro FPV: 6K, 360° Gimbal, Hasselblad
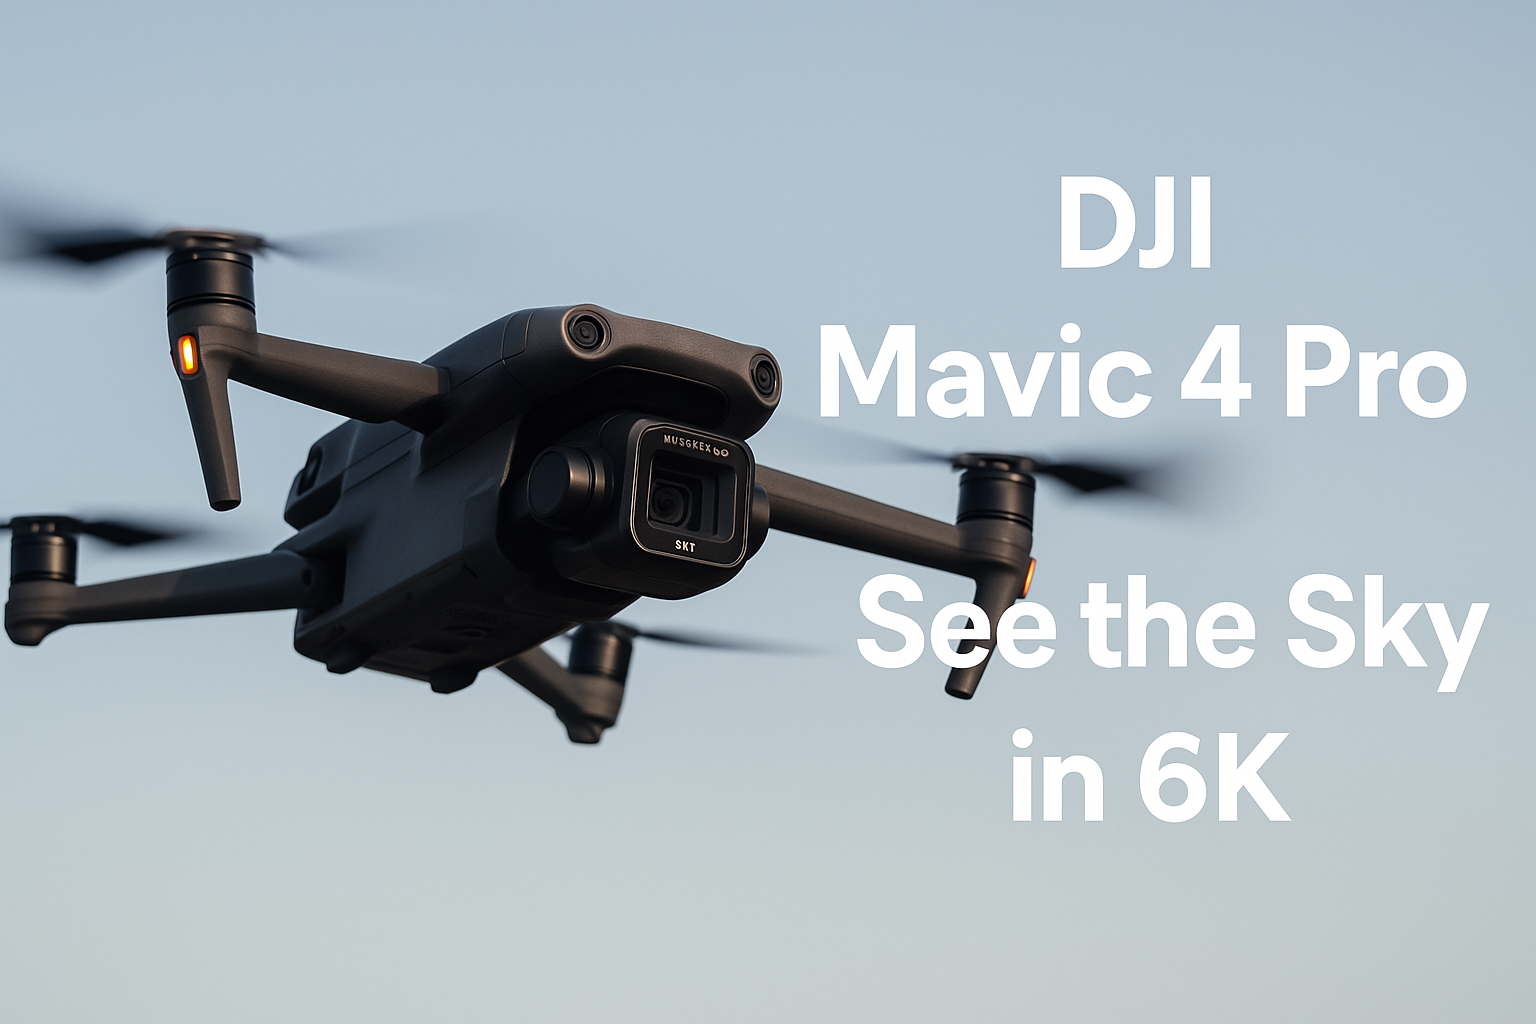
Mavic 4 Pro FPV: 6K, 360° Gimbal, Hasselblad—The Creator’s Drone You Can Actually Grow Into
If you want a drone that feels like a flying cinema camera (without the headache), the DJI Mavic 4 Pro FPV is the most “future proof” prosumer option right now. In this guide, I’ll walk you through what it’s like to live with it—setup, flight feel, image quality, when its 360° gimbal shines, and how it stacks up against other options—then share clear buying tips so you spend once and smile for years.
Why the Mavic 4 Pro hits different
Plenty of drones shoot pretty video. The Mavic 4 Pro FPV goes after the parts of the craft that actually move the needle for creators: a 100MP Hasselblad main camera on a new 360° “Infinity” gimbal, plus two tele lenses so you can frame cinematically without flying dangerously close. Top that with 6K/60 HDR, a rated 51-minute max flight time, omnidirectional obstacle sensing, and O4+ video transmission up to 30 km. On paper it reads like a spec sheet; in practice, it means fewer compromises and more usable shots in tricky light and tight spaces.
And yes—despite the pro spec, you don’t need to be a seasoned pilot to use it. The safety net is strong, the setup is friendly, and the default color is already gorgeous. You can get cinematic footage on day one, then “grow into” its pro modes as your projects demand more.
Setup & first flights (what to expect)
If you’re coming from an older Mavic or a mini drone, setup feels familiar: charge batteries, update firmware, pair the controller, and check your local airspace rules. The new controller options—with a bright integrated screen—make the first session smoother: no phone clamps, no cables, and fewer points of failure. Expect your first calibration (gimbal + compass) to take a few minutes; do it once and you’re set.
First takeoff tip: Choose a wide, open field for the maiden flight. Let the drone hover for 20–30 seconds to settle, then practice gentle arcs at chest height. The obstacle sensors will build confidence, but treat them as guardrails, not a license to get reckless.
Out of the box, the default Normal profile already looks polished. If you plan to edit, switch to a log profile (10-bit) and lock the ISO/shutter once you see a stable exposure. For quick social cuts, the baked look is perfectly usable—great for travel and run-and-gun gigs.
Image quality & color (made for grading)
The big story is the new 100MP 4/3-inch Hasselblad sensor. In plain English: you get cleaner shadows, richer midtones, and much better highlight roll-off than typical 1-inch/Type-1 sensors. The 6K/60 option buys you extra detail and motion cadence that holds up in slow pans and fast reveals; drop to 4K/120 when you want crisp slow-motion.
Color science: DJI’s Hasselblad pipeline (HNCS) aims for accurate skin and foliage without that “plastic green.” If you shoot log, you’ll find it grades like a mirrorless camera: normalize with a LUT or transform, then shape contrast and saturation. The footage tolerates pushes in post—handy when clouds play peekaboo and your exposure drifts a touch.
Tele lenses are not an afterthought. The medium-tele is perfect for parallaxy orbits of buildings and ridges; the long-tele compresses backgrounds for hero shots without flying near people or structures. You’ll notice less “digital” sharpening than earlier generations—an upgrade creators will feel on large screens.
Low light: usable, finally
With a bigger sensor and a fast aperture, dusk flights are more forgiving. Keep ISO conservative, expose for highlights, and expect surprisingly clean shadows. If you’re delivering straight from camera, try the Night or HDR modes and let the onboard processing massage noise while preserving color.
360° Infinity Gimbal: when it’s a game changer
The Mavic 4 Pro’s party trick is a gimbal that can rotate freely, unlocking moves that used to require heavy cine rigs. Practically, it means:
- Perfectly level horizons even in strong crosswinds.
- Vertical video without cropping—flip orientation for Reels/Shorts and still use the full sensor area.
- Roll reveals and subtle Dutch tilts that look “cinema”, not gimmicky, when used sparingly.
Pro move: For social deliverables, set the gimbal to vertical and the aspect to 9:16 at the start. You’ll compose properly for people and buildings, instead of guessing and cropping later.
Range, flight time & reliability
On a calm day with fresh packs, plan on 30–40 minutes of real-world airtime when you fly a normal mix of climbs, orbits, and returns—more if you’re gentle, less if it’s cold or windy. The rated maximum is higher, and it’s achievable in ideal conditions, but budgeting conservatively keeps your nerves (and shots) steady.
Transmission & control: O4+ keeps the live feed crisp and steady well past the distances most people should fly visually. If you’ve ever fought with glitchy FPV feeds, this is a breath of fresh air. Antenna orientation still matters: keep the controller pointed roughly at the aircraft and avoid standing behind vehicles or metal structures.
Obstacle sensing: The 360° sensing suite watches all directions and is excellent at catching surprise branches and light poles. Treat it as a seatbelt, not autopilot—deliberate flying still yields the best, smoothest footage.
FPV view & control feel
“FPV” here means a strong live view and responsive controls rather than full acro flips. If you want cinematic FPV swoops with stabilization, you’ll love how predictable this platform feels. The sticks are tuned to be smooth off-center (great for slow, confident arcs), and you can customize expo so small motions aren’t twitchy.
Beginner comfort: Start in Normal mode and practice braking to a stop, then tracing straight lines across landmarks. Switch to Sport mode only when you’ve built muscle memory; it’s quick, and fast approaches can overwhelm new pilots near trees or power lines.
Real creator workflows (that actually save you time)
Travel & landscape
Think sunrise ridge lines and coastal roads. Use the medium-tele to compress layers of hills and let mist glow. In log, underexpose a hair to protect the sun edge, then gently lift shadows in post—you’ll keep detail in bright clouds.
Real estate & architecture
Vertical mode gets you magazine-style shots that fill phone screens. The long-tele is perfect for compressing façades without spooking neighbors. Add a slow roll (just a few degrees) on the Infinity Gimbal and you’ll get elegant reveals that feel like a crane shot.
Documentary & commercial
Use the wide Hasselblad as your A-cam and cut in medium-tele details for texture (signage, windows, roof lines). The consistent color across lenses makes shot matching painless. If you’re delivering in SDR, the camera’s baked profile looks clean; if you’re delivering in HDR, the 10-bit pipeline gives you headroom to keep skies bright without crushing faces.
Solo creator setups
One operator can cover a surprising amount: pre-plan two or three anchor shots (a top-down, an orbit, and a lateral track), then grab quick inserts on the tele lenses. You’ll finish with a complete story instead of a memory card full of random passes.
Alternatives & How They Compare
| Drone | Who it’s for | Imaging highlights | Why pick it / Why not |
|---|---|---|---|
| Mavic 4 Pro | Creators who want a no-compromise tool that scales to client work. | 100MP Hasselblad main, triple-camera system, 6K/60, 10-bit, 360° gimbal. | Pros: Best all-round image & control; safest sensors. Cons: Higher price; heavier regs in some regions. |
| Mavic 3 Pro | Great value if you don’t need 6K/60 or a rotating gimbal. | Tri-camera, excellent 5.1K, strong flight time. | Pros: Lower cost. Cons: Less headroom in highlights; standard gimbal only. |
| Air-class alternatives | Travelers who prioritize pack size and price. | Solid 4K, lighter build. | Pros: Compact. Cons: Less dynamic range/tele reach; fewer “save-the-shot” features. |
Where to buy & what to bundle
You can pick up the Mavic 4 Pro from multiple places. If you prefer global e-commerce, Banggood often promotes competitive pricing or bundles. Big general retailers sometimes have faster local shipping and easier returns, and the official DJI Store offers direct after-sales support. Typical choices:
- Banggood: Competitive pricing, occasional coupons, wide global reach. Check stock location, shipping times, and the returns/warranty page for your region before purchase.
- Major retailers (e.g., Amazon): Fast shipping, straightforward returns in many countries; prices can be higher during low-inventory periods.
- DJI Store: Official support, Care Refresh plans, and the most transparent policy documentation; sometimes pricier, but hassle-free service.
Which combo? If you shoot more than once a week, get at least three batteries, ND filters (8/16/32), a multi-charger, and a high-brightness controller. If you’re new, skip the giant carry case and go for a slim backpack insert—lighter and easier to work from.
Pro tips before your first shoot
- Know your local rules. In many regions, drones over 250 g require registration and sometimes Remote ID. Build that into your prep so you don’t lose shoot time.
- Warm up batteries. In cold weather, keep packs warm in an inside pocket; cold lithium cells sag and trigger early returns.
- Lens hygiene. Clean the front element (and ND) before takeoff. Dust + sun = flares you can’t remove later.
- Use tele for safety. Don’t chase subjects into tight spots—switch to the tele lens and keep standoff distance.
- Expose for highlights. Especially at sunrise/sunset—recover shadows later; blown clouds are forever.
- Map your flight. Two A-shots + one safety shot (top-down, orbit, lateral trucking) beat ten random passes.
- Always leave 25% battery to come home. It keeps you calm and protects packs over time.
FAQ
Is the Mavic 4 Pro good for beginners?
Yes—its sensors, stable hover, and gentle stick response make it approachable. Start in Normal mode and lean on the safety features while you learn.
Do I really need 6K/60?
If you edit regularly or deliver to clients, absolutely—it gives you cropping room and motion cadence that still looks great in a 4K timeline. If you mostly post casual travel clips, 4K/60 is already excellent.
How “future proof” is it?
The 6K pipeline, triple cameras, and 10-bit color give you years of headroom. Even as platforms push HDR and vertical video, you’re covered with true sensor area in both orientations.
What about regulations?
Rules vary by country. In the U.S., drones over 250 g must be registered, and Remote ID is required for most operations. The EU uses an “open/specific” category system—check your national aviation site before flying.
Final thoughts
If you’re serious about aerial video—or you just want a tool that won’t limit you as your skills grow—the Mavic 4 Pro FPV is the flexible choice. It’s the rare drone that’s friendly on day one and still inspiring on day one hundred. The footage holds up, the gimbal unlocks fresh angles, and the safety tech keeps your focus on the story. For most creators, that’s exactly what “worth it” looks like.