
Beginner’s Guide to the Best Multicolor 3D Printers of 2025.
Beginner’s Guide to the Best Multicolor 3D Printers of 2025 [Updated for New Features] Multicolor 3D printing is catching on fast in…
Beginner’s Guide to the Best Multicolor 3D Printers of 2025 [Updated for New Features]
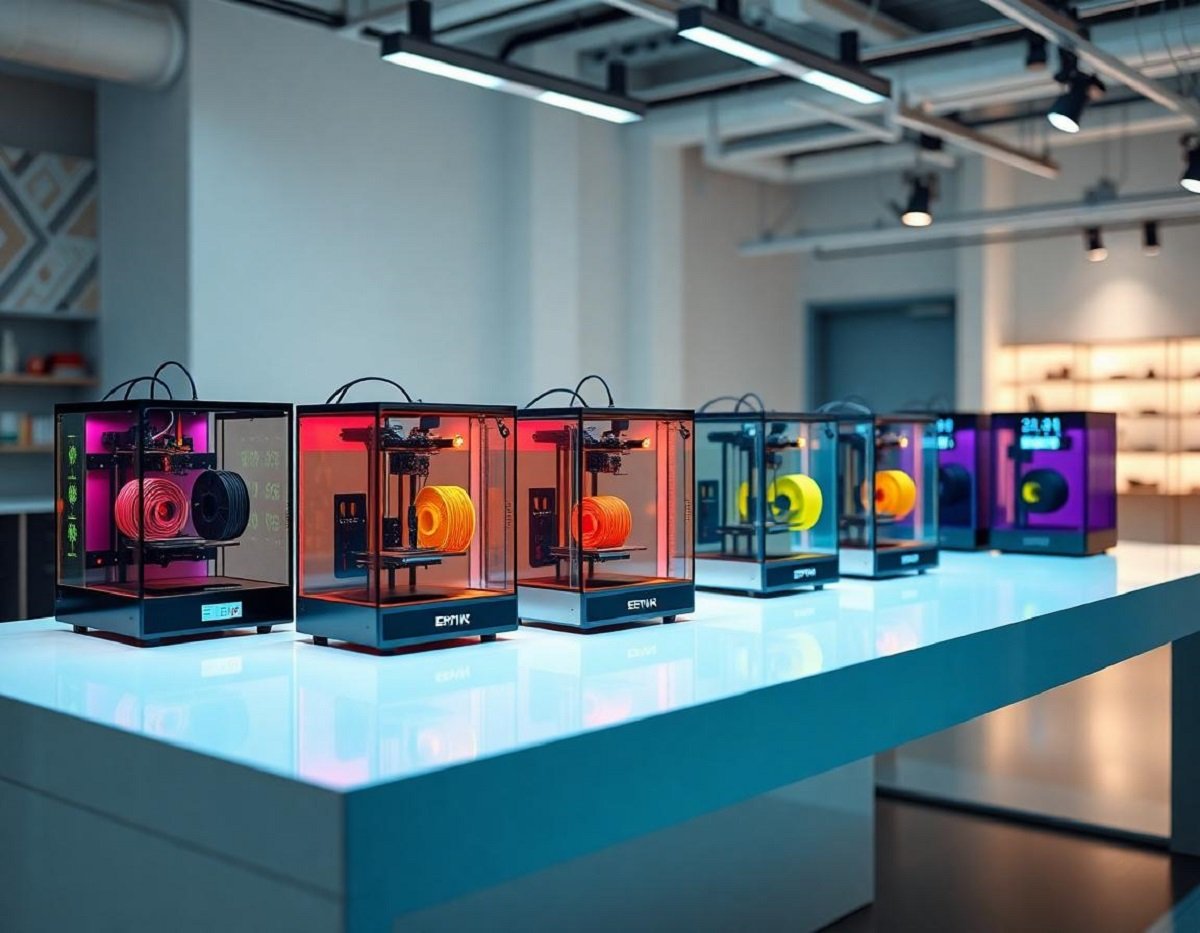
Multicolor 3D printing is catching on fast in 2025, and it’s opening up new possibilities for makers of all skill levels. For beginners, these printers offer an easy way to add depth and detail to projects without extra hassle. Using multiple colors in one print saves time and gives your creations a professional look.
This guide breaks down the best multicolor 3D printers available this year and what features matter most when you’re just starting out. You’ll get clear advice on what to expect, making it easier to pick the right printer and bring your ideas to life in bright color.
Understanding Multicolor 3D Printing Technology
Multicolor 3D printing lets you bring your designs to life with vivid shades and realistic detail. At its core, it’s about adding colors to a single print without painting or post-processing. There are several ways this happens, and each has its own strengths and quirks. For anyone starting out, knowing these different methods shines a light on which printer or accessory fits your projects best.
Dual Extruder Systems
Dual extruder printers use two separate print heads, each loaded with different filament colors or materials. Think of it as having two paintbrushes working side-by-side, switching between colors smoothly during printing.
Here’s how it works:
- Each extruder deposits its own color or material layer where needed.
- The printer’s software coordinates exactly when and where each extruder operates.
- This method allows sharp color edges and the ability to combine different filament types, like rigid and flexible, in one print.
Dual extruder systems speed up printing with color by eliminating the need for pauses to swap filaments manually. They also simplify printing with dissolvable support materials, which is handy for complex shapes.
If you want to explore models offering this, you can check out options like the Snapmaker 2.0 Dual Extrusion Module that bring flexibility and ease of use.

Photo by Jakub Zerdzicki
Single Nozzle with Color Mixing
Some printers use a single nozzle but can seamlessly mix filaments before extrusion to create multicolor prints. Imagine blending different paint colors on a palette to get a new shade, but the printer does this dynamically while printing.
This system:
- Feeds multiple filaments into a mixing chamber inside the hotend.
- Varies the filament flow ratio to produce a gradual blend or sharp color changes.
- Keeps the printer simpler with only one nozzle, reducing jams and maintenance.
This technique offers smooth color transitions and gradient effects often impossible with dual extruders. It’s ideal for prints where color blending matters more than hard color boundaries.
A great example of this can be found in specialized printers or add-ons designed for color-mixing, which enthusiasts have built and shared on platforms like Reddit’s 3D printing community.
Palette and Filament Switching Devices
Palette devices add another level of control by allowing a single-nozzle printer to produce multicolor prints through filament switching outside the printer.
Here’s how they work:
- Multiple filaments feed into the Palette, which splices and combines them into one filament strand.
- During printing, the device feeds the color-changed filament into the printer.
- The printer extrudes normally, but the filament color changes mid-print, creating multicolor layers or zones.
This setup doesn’t require specialized printers; it works with many existing models by adding the Palette unit. The advantage is full-color prints without the complexity of multiple print heads or color-mixing hotends.
Palette’s official devices, like the Palette 3 Pro, are engineered for fast splicing and reliable filament changes, making multicolor printing more accessible and efficient.
Each method carries features worth considering based on your budget, print complexity, and color precision needs. Learning their basics sets a solid foundation to choose the best multicolor printer or accessory for your projects.
Key Features to Look for in Multicolor 3D Printers for Beginners
Choosing your first multicolor 3D printer means focusing on features that make printing easier and improve your results with less frustration. It’s about balancing quality, simple operation, and the flexibility to explore various projects. Here’s what to watch for to get started on the right foot.
Ease of Use and Setup
A beginner-friendly printer should feel welcoming from day one. Look for models with intuitive interfaces like touchscreens that guide you through every step. Easy setup means less time fiddling and more time printing. Features such as:
- Pre-assembled units or minimal assembly parts
- Well-documented setup guides or video tutorials
- Automatic bed leveling for hassle-free calibration
- Clear filament loading and unloading procedures
make a huge difference. If the printer software is straightforward and supports popular file types without complicated tweaks, you’ll avoid a steep learning curve. This focus on usability lets you get great prints faster and builds confidence as you learn.
For a detailed overview of easy-to-use color 3D printers, the Formlabs guide to color 3D printers highlights several options known for beginner-friendly design.
Print Quality and Resolution
Color accuracy and sharp detail can make or break your multicolor prints. Resolution is key—the finer the layer height, the smoother your prints look, especially where colors meet. Look for printers capable of at least 100 microns (0.1mm) or better in layer thickness.
High-quality extruders and temperature control help keep colors crisp without bleeding or blurring. Some printers offer color calibration tools or profiles that ensure each hue prints true to your design. Remember, clean transitions and strong adhesion between colors are essential for that professional look.
Taking a closer look at print quality can help you pick a printer that matches your goals, whether that’s vibrant art pieces or detailed prototypes.
Compatible Materials and Filaments
Multicolor printing relies heavily on compatible filaments. For beginners, PLA is a safe bet—it’s easy to print, affordable, and works well with most printers. Other beginner-friendly options include:
- PLA blends with enhanced colors or finishes
- PETG, which offers more strength and flexibility
- PVA for dissolvable supports in dual extrusion setups
Some printers handle flexible or specialty filaments too, but these might be better as you gain confidence. Keeping your filament choices simple lets you focus on mastering color prints without troubleshooting material issues.
The selection of filaments mostly depends on your printer’s extruder type—dual, mixing, or filament switching devices—so verify compatibility in advance.

Photo by Jakub Zerdzicki
Build Volume and Speed
Beginners often want a printer that can handle a wide range of project sizes. Build volume matters because larger print space means fewer limits—go from small figurines to bigger models without swapping printers. However, bigger isn’t always better if it means slower printing or more calibration hassles.
Print speed is another factor to weigh. Faster printers help you see results quickly, which keeps motivation high. But speed can come at the cost of quality, so look for models that balance both well. Adjustable speeds allow you to start slow for detailed prints, then ramp up for quicker drafts.
Choosing a printer with a moderate build volume, around 200x200x200 mm, and reasonable speeds around 40-60 mm/s gives flexibility without compromising beginner needs.
Selecting the right combination of build size and speed helps you avoid overwhelm, keeping you excited to try new projects and colors. For tips on balancing these features, this Prusa beginner’s guide to multicolor printing offers clear advice from a trusted maker community.
Choosing your first multicolor 3D printer with these features in mind sets you up for a smooth and rewarding experience as you explore printing with colors.
Top Multicolor 3D Printers of 2025 for Beginners
Starting your multicolor 3D printing adventure can feel overwhelming with so many models out there. The good news? Some printers make the learning curve gentle and rewarding without skimping on color capabilities. This section covers the top beginner-friendly 3D printers of 2025 that can handle multiple colors. They balance simplicity, quality, and features so you don’t get stuck in setup or maintenance headaches. Let’s explore what each offers.
Prusa i3 MK4 with MMU 2S
The Prusa i3 MK4 paired with the Multi Material Upgrade 2S (MMU 2S) is a standout choice for beginners eager to explore multicolor prints. Its strength lies in combining Prusa’s reputation for reliability with the flexibility to use up to five different filaments in one print.
Why it works well for beginners:
- Easy Setup and Calibration: The printer comes with thorough guides and automatic bed leveling, making the process smooth even if you’re just starting out.
- Reliable Material Handling: MMU 2S manages filament changes outside the hotend, reducing jams and making multicolor prints less frustrating.
- Strong Support Community: Prusa’s large user base and extensive resources help newbies troubleshoot quickly.
This setup is like having a friendly coach guiding you while you experiment with colors. It’s one of the best ways to get high-quality multicolor results without fighting complex mechanics.

Photo by Jakub Zerdzicki
Creality Ender 3 S1 Pro with Palette 3 Pro
Combining the popular Creality Ender 3 S1 Pro with the Palette 3 Pro filament management system delivers a beginner-friendly path to multicolor printing. The base Ender 3 S1 Pro offers solid build quality, automatic bed leveling, and precise printing.
Add the Palette 3 Pro, and you get:
- Multicolor Output on a Single Nozzle Printer: Palette 3 Pro splices multiple filaments into one strand, so you don’t need dual extruders.
- Simple Integration: The system fits seamlessly with the Ender 3 S1 Pro without complicated mods.
- Reduced Jamming and Better Color Transitions: The Palette’s advanced splicing tech improves reliability and color accuracy.
This duo is a great choice if you want multicolor prints without the extra hardware complexity. It’s perfect for those who want a solid base printer with the option to add flexible color printing using the Palette device.
Anycubic Vyper with Multi-material Upgrades
The Anycubic Vyper is known for its user-friendly interface and fast auto-leveling, making it approachable for beginners. With a few multi-material upgrades, it steps up to handle multicolor printing without overwhelming new users.
Key points:
- Upgrades Include Multi-material Units: These add-ons enable feeding multiple filaments, allowing prints with up to four colors.
- Maintains User-friendliness: The Vyper keeps its straightforward touchscreen and quick setup even after upgrades.
- Affordable Entry to Multicolor: This option typically costs less than dual-extruder models, making it attractive for budget-conscious beginners.
For novice makers who want multicolor printing without a steep price or the hassle of fully dual extrusion systems, the Vyper with these upgrades offers a smooth introduction.
Raise3D E2
Raise3D’s E2 printer brings innovation to dual extrusion printing, simplifying multicolor projects for both beginners and experienced users. It features the Independent Dual Extruder (IDEX) system, which allows each print head to operate separately or together.
Why it’s beginner-friendly:
- Automatic Tool Change: The E2 handles swapping extruders mid-print without manual input, preventing common beginner mistakes.
- High-quality Prints with Different Filaments: IDEX supports various filament combos, including flexible and dissolvable supports, broadening creative options.
- User-friendly Interface: The touchscreen and software guide users through multicolor setups clearly.
The E2 behaves like having two separate printers in one, making complex multicolor prints easier to achieve with less risk of errors and tangled filaments.
For more detailed reviews and beginner tips on multicolor printers, Tom’s Hardware offers comprehensive insights on the top models you might consider in 2025.
These printers each offer a different approach to multicolor printing, from multi-material units to dual extrusion and filament splicing devices. Picking one depends on how hands-on you want to be and your budget. But each can open the door to stunning, colorful 3D prints with a beginner’s confidence.
Tips and Best Practices for Successful Multicolor 3D Printing
Multicolor 3D printing adds vivid depth and creativity to your projects, but it also brings unique challenges. Getting the best results means paying attention from the design stage through maintenance and troubleshooting. The good news? With a few smart habits, you’ll avoid common pitfalls and enjoy vibrant, clean prints every time. Below are practical tips to help you along that path.
Designing Models for Multicolor Printing
Not every 3D model fits well with multicolor printing. When you’re preparing or selecting files, look for designs that clearly separate the color zones or have distinct parts for each color. Here’s what works best:
- Use Multi-part Models: Models split into separate sections make it easier to assign different colors or filaments to each part.
- Color-coded STL Files: Some models come pre-colored or have multiple files representing different colors. These are perfect for multicolor printing.
- Simple Boundaries Between Colors: Sharp, defined edges between color regions reduce color bleeding and make cleanup easier.
- Avoid Overly Thin or Complex Color Areas: Tiny, detailed color sections risk smudging or filament bleeding during printing.
If you need models ready for multicolor, websites like Thingiverse and MyMiniFactory often tag or categorize designs for multicolor printing. Pre-selecting suitable models will save headaches later.
Printer Calibration and Maintenance
A well-maintained printer is at the heart of reliable multicolor printing. Color shifts and quality drops often come down to poor calibration or dirt buildup. Keep these tips in mind:
- Calibrate Regularly: Bed leveling, nozzle height, and filament extruder calibration should happen frequently. Even small misalignments cause color overlap or layering issues.
- Clean Nozzles Often: Multicolor printing switches filaments, increasing clog risks. A clean nozzle ensures smooth filament flow and prevents jams.
- Lubricate Moving Parts: Keeping rails and gears smooth minimizes wobble that blurs color boundaries.
- Check for Loose Parts: Vibrations from loose screws or belts can blur color transitions during printing.
- Flush Filaments Between Colors: If your printer or software supports it, flushing old filament before loading a new color reduces color contamination.
For a detailed guide on calibration, Teaching Tech’s Calibration Tips provides easy steps to keep your printer tuned and ready for crisp multicolor results.
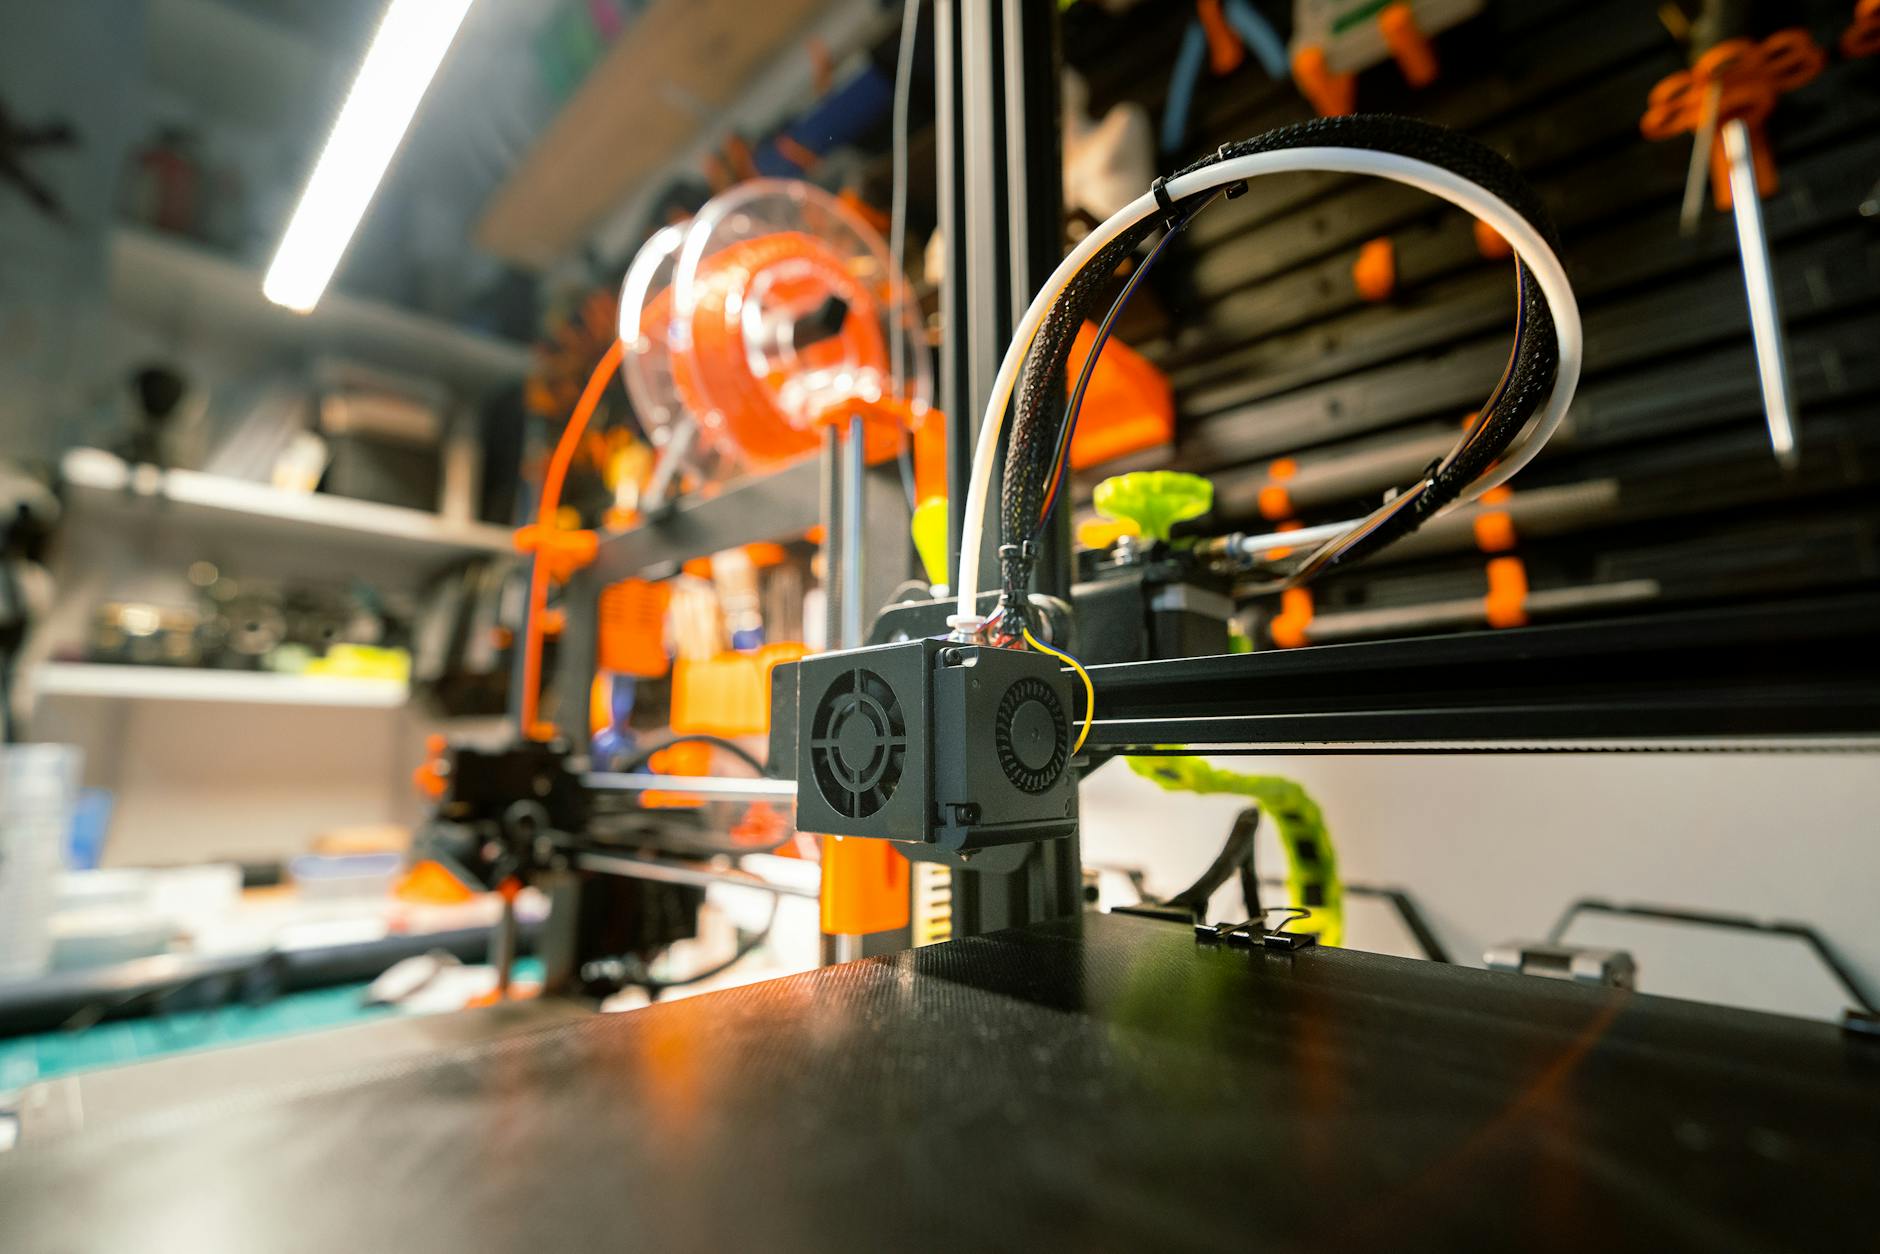
Photo by Jakub Zerdzicki
Using Slicing Software for Multicolor Prints
Slicing software is key to turning your multicolor design into layers the printer understands. For beginners, finding the right settings makes all the difference. Start with these recommendations:
- Choose Beginner-Friendly Software: Programs like PrusaSlicer or Ultimaker Cura offer straightforward multicolor features with active user support.
- Assign Colors in the Software: Drag and drop or assign filament colors to different model parts clearly before slicing.
- Use Separate Print Settings for Each Color: Different filaments may require different temperatures or speeds. Adjust these per extruder or filament.
- Enable Proper Purge and Wipe Settings: This clears old filament during color switches to prevent messy trails or blobs.
- Preview the Print in Color: Most slicers let you visualize each color zone to check for errors before printing.
Learning how to fine-tune these slicing settings helps you avoid misprints. Many slicers also offer tutorials, like the Sunlu guide to multicolor printing, designed for newcomers.
Troubleshooting Common Issues
Even with careful prep, multicolor 3D printing throws a few curveballs. When you hit snags, these fixes usually do the trick:
- Color Bleeding or Smudging: Increase purge volume or flush times between colors. Lower print speed near color changes to reduce filament mixing.
- Layer Shifts in Color Zones: Check for loose belts or screws, recalibrate your print bed and stepper motors.
- Filament Jams When Switching Colors: Clean nozzles regularly and verify filament diameter matches settings. Also, slow down filament change speed.
- Stringing Between Colors: Use wipe towers or ooze shields in slicer settings. Adding retraction helps reduce filament stringing.
- Uneven Color Transitions or Gaps: Adjust temperature to improve layer adhesion and fine-tune extrusion multiplier per filament.
Resources like Reddit’s multicolor printing help threads offer useful community tips on specific issues if you want more hands-on advice.
Mastering these basics and troubleshooting steps puts you well ahead of many beginners. Multicolor printing takes patience but soon becomes a rewarding way to bring your creations to life with vivid, clean color.
Conclusion
Multicolor 3D printing in 2025 is more accessible than ever for beginners. By understanding key printer types, essential features, and helpful tips, you can pick a model that fits your goals and skill level. Whether you choose dual extruders, color mixing, or filament splicing, each path offers exciting ways to add color and detail to your projects. Take what you’ve learned here and start experimenting with the printers and techniques that feel right for you. With patience and practice, vibrant, professional-looking prints are within reach. Thanks for reading—feel free to share your experiences and questions as you bring your colorful ideas to life.